Showing posts with label crafty. Show all posts

4.22.2020

24 Cross Stitch 100daysofkatiesxstitch


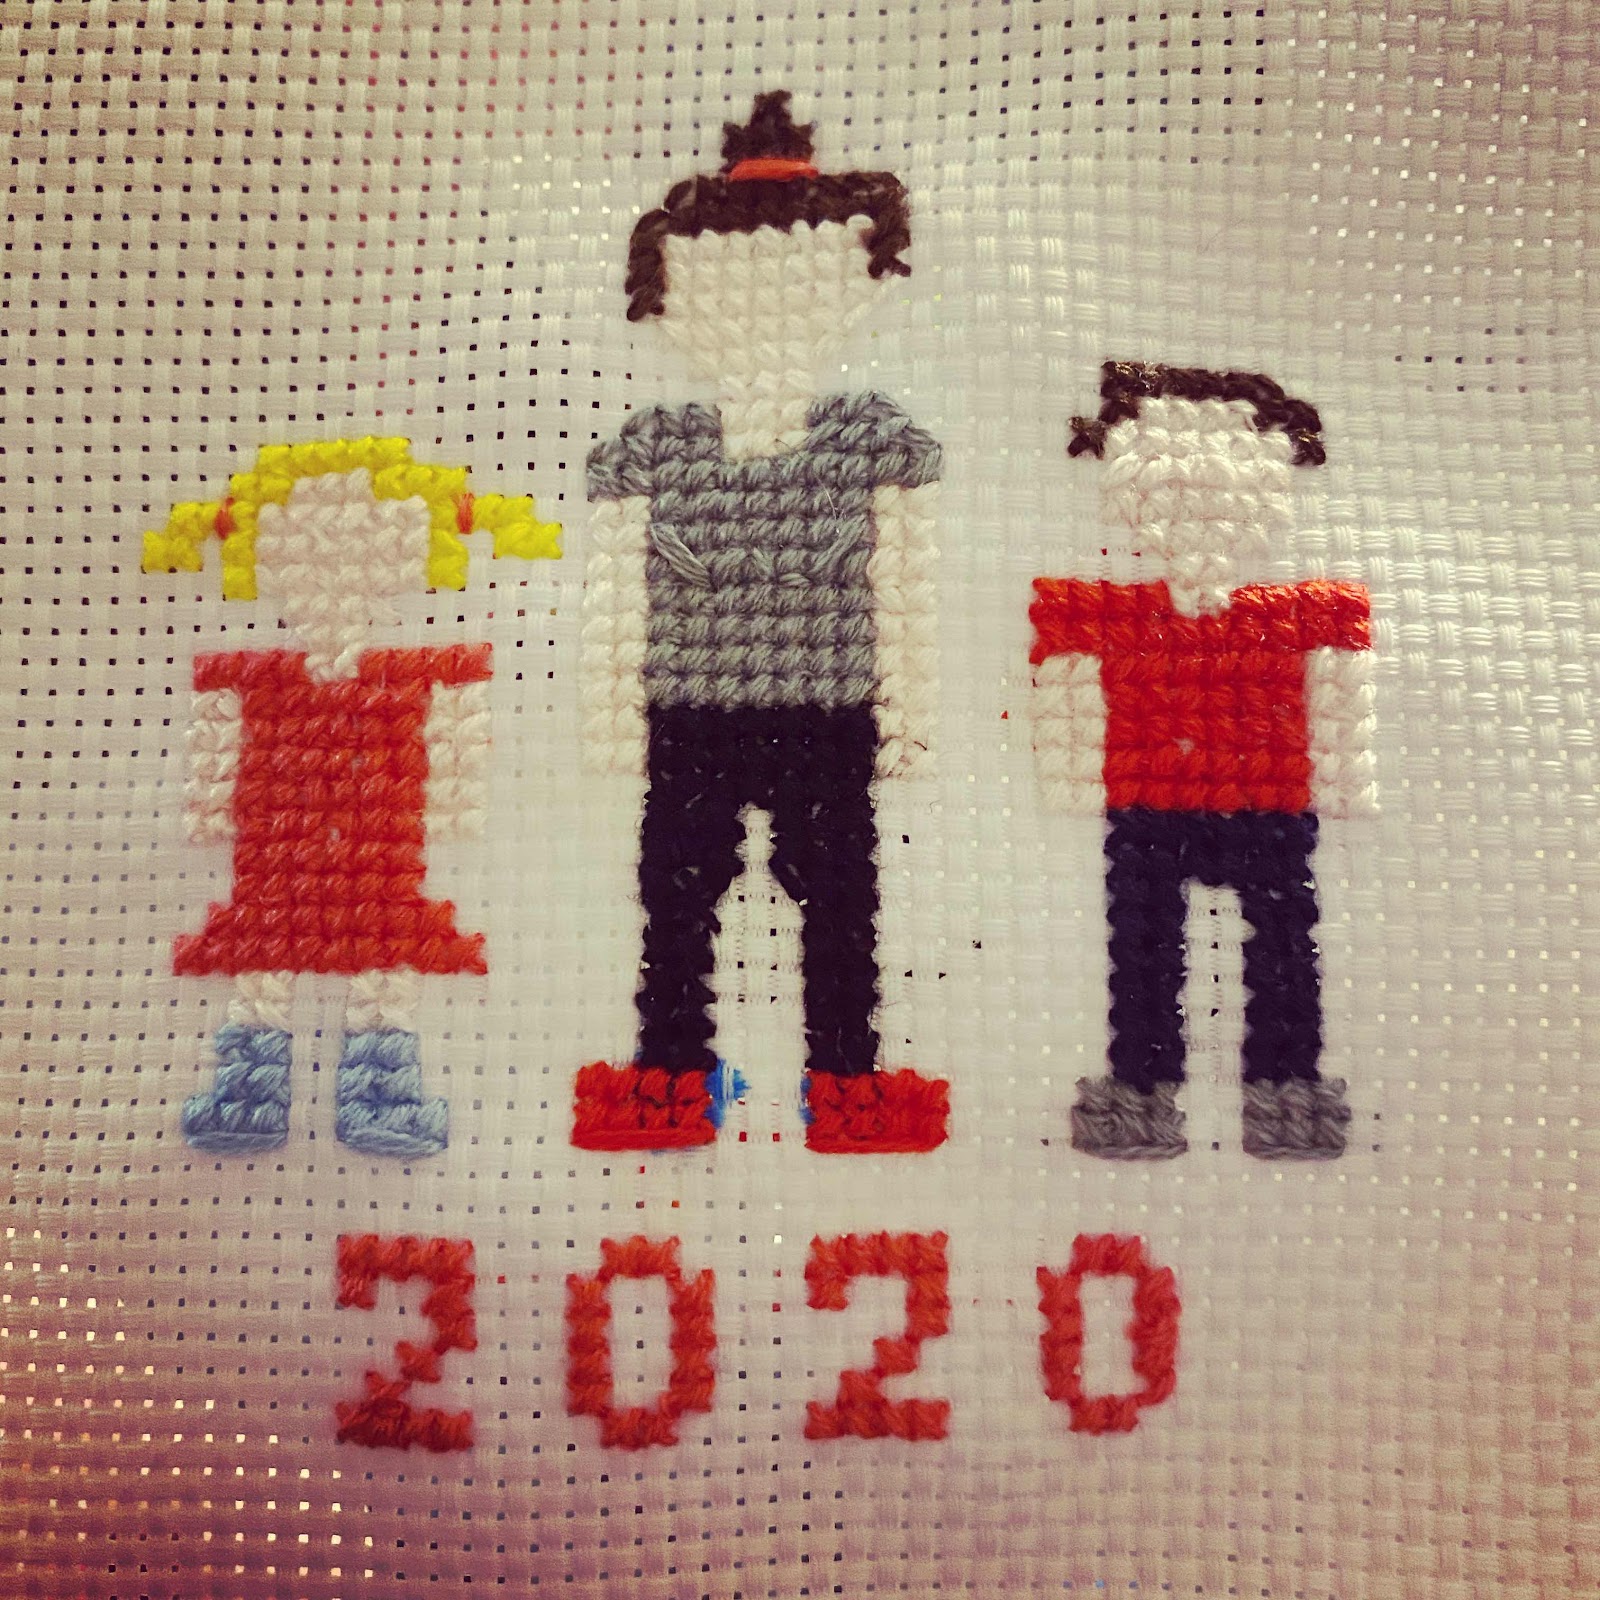
I ended up doing 100 days of cross stitch.  So far I have made this little portrait of my family - I plan to add a border but I am not sure what I want to be so I left it.

I started a triangle cross-stitch but I don’t love it.  I think I might change it up later but I also put it aside for now.  


Now I am working on this Bee and Flower cross stitch.  I am planning to add another bee and maybe some fun butterflies too.  I don’t have any patterns I am just kind of loosely getting inspiration from other cross stitch and nature.  
I look forward to continuing this project.  I have wanted to cross stitch for a while but never bought any cloth so this has been a fun 10-15 minutes of craftiness in a time that seems to be extra busy and crazy. 


If you want to follow along on Instagram it’s hashtag #100daysofkatiesxstitch 

6.05.2014

Crafty Project - Homemade Crib Skirt #babyburf Nursery

The nursery is almost done.  Which I consider a accomplishment since it's been drawn on for the last 4 or so months.  We just need to get him a hamper and pick up the dresser Kathleen is giving us.  Final photos coming soon.  But in the meantime here's a little share of the crib skirt I sewed from $5 worth of clearance houndstooth fabric from hobby lobby's. 


I made it simply by sewing four rectangle panels.  Adding ribbon to attach it and then tying it onto the crib.  The rectangles are 50x7 and 25x7 and I merely sewed the hems to make them washable.  I didn't even bother with ironing and making sure they are perfect retangles since you can't tell when it's in the crib.  A simple project with nice results.  Kathleen thinks it's a little busy since the crib sheets aren't solid but I think it's fine.  I don't mind having an extra pop of pattern.  And with that as well my #26 4 crafty projects are done.  And no doubt I'll make another 4 before the end of the year as well.  

5.31.2014

Crafty Project - #babyburf mobile

I originally was going to make a mobile from Pom poms but then I couldn't find the right blue.  So I switched to perhaps a leather craft, but again I couldn't find green and leather is a wee but pricey.  So after pretty much giving up on the idea the baby would have a mobile.  I crafted him one from foam and string and these metal rings that were from my grandmas stash.  Total cost was like $4 for the foam.
The foam I just freehanded triangles from and used the already provided sticky to stick two sides together and ahere the string.  Then strings were tied onto the rings and I wrapped the ring in more string (this was the most annoying part).  I used two rings one slightly smaller and just tied those together in the center.  Relatively simple.  It's not perfect but it matches so well and it's another little addition to his room that I crafted.
I also love his perspective from under neath.  Hopefully he enjoys looking at it.
 
Oh and let's cross off craft project #3 from my list.

4.11.2014

#Babyburf's baby book

I debated making a baby book for #babyburf because we already have project life.  But I figure if we have more than one kid I'll want to give them each their own book.  With that said I knew I didn't want a traditional one where you fill in the blank.  I also didn't want a traditional pastel baby scrapbook like I have seen with a bunch of firsts and goofy stickers.  So instead I bought a Sn@p album and dug out paper and embellishments in blues, greens, black and white that I already had.  This is much more me and it goes together super simply.
I made sort of a fake "Polaroid" for the front cover and I plan to add a photo of him when he's born matted on the star paper.    I also want to include the date somehow maybe with a date stamp.  It was a pretty simple design but I didn't want to much busy-ness.
The pages inside will be a combo of pockets, sleeves and 6x8s.  These first two are 6x8s slid into a protector that came with the album.  
This one is our social media baby announcement (it's brighter in real life).  I also have some personal journaling I have been writing that goes with this but I haven't determined how I want to do that.  Perhaps with an sealed envelope for him to open when he's old enough.
This is his first baby photo aka ultrasound.  I have had that bingo card for like 6 years and when I saw it had a 6 and 16 I knew I should finally use it since that's his due date.
That's it so far aside from that personal journaling.  I figure at some point we'll put in a baby bump photo or two but then I am waiting to fill pages until he's born.  I also might include the pregnancy test photo but it's really kind of a horrible photo so maybe not. 

2.21.2014

Making Cards

The other day I was reflecting on how rarely I make anything with my ridiculously large amount of stamps I have in the craft room.  And by ridiculous I mean straight up too many - I easily have 10 sets that have never been used. So last night while Dust was man birthday partying with one of our favorite 13 year olds,  I dug out some stamps and some colored inks.  I created 10 cards in like an hour it was good.  Just creative easy projects.  
I like cards because I make them all in one setting and sometimes you need projects that go fast like that.  Perhaps next time I will use the stamps that have never been used.

2.07.2014

Crafty Project

So I love the Olympics I am sure I have mentioned this before?  Anyhow Kathleen thought it might be fun to dress up so I thought sparkle tights were in order.  Equipped with a pair of old tights, E6000 glue and a bunch of gems from my stash I made these lovelies.  
They turned out really fun I hope to find another time to wear them.  The gems stayed on pretty well however I am certain these are now hand wash and air dry only.
Oh and with that one of my 4 crafts for the 2014 list is done.  
PS we also made USA warmups. 

12.07.2013

Freezer Paper Shirt

So I saw these tiny baby onesies made by PUP ( people for urban progress). And I thought they were adorable with Indiana on them and a little heart in Indy.  But then I saw the price tag and I could not make myself buy it.  Sorry PUP while I might pay $50 for an RCA Dome bag I will not pay $22 for a baby t-shirt.  I immediately knew I could make my own.   And who needs an excuse to craft???  Introducing how I make freezer paper shirts.

Supplies: 
Shirts (in this case onesies)
Paint preferably fabric (I have also used acrylic and spray paint all seem to work)
Freezer paper
Scissors
Iron
Newspaper
Pen

Steps:
1. Cut a sheet of freezer paper about the same size as the front of you shirt (bigger is ok you just don't want to paint the wrong part of the shirt).
2. Draw a design on the matte side of the paper keep in mind the size.  I free handed mine.  Keep in mind that the negative space is what gets painted.
3. Cut out the inside of your design (where necessary label/save the pieces).
4. Place design on shirt and Iron on the freezer paper shiny side down.  Iron til it's good and stuck.
5. Insert a few sheets of newspaper between in the shirt to prevent bleeding.  Paint or spray paint the design.  Where needed apply variation of coloring or second coat.
6. Allow to dry a little - maybe 30 minutes.  Peel away the freezer paper while still wet.  I usually only leave the detailed portion attached until dry like the eyes or the heart.  In my head this prevents bleeding truly I do not know.
7. Allow to dry completely.
8. Wash and wear.
I made my own Indy Blues shirt this way and it's been washed many times and is still going strong.  
Here are a few other designs I made. PAC Man only variation was I painted black dots in the eyes when dry.
rooster I also added a little detailing like the eye and gradation in the paint to make this rooster like.
The only cost for the project was the onesies which were like $5.77 everything else was already in my craft room.

4.24.2013

Let's Get Married - Wedding Programs

I created the programs for our  wedding as well. I created covers using green office paper that I had from a prior project, Washi Tape, Wrapping Paper Scraps and our wedding stamp we used on the invite.  I designed the content in Visio taking language found on the net and changing it to fit us.  I printed the insides on 8.5x11 paper 2 per sheet, trimmed it up stitched covers on and then viola! - I had wedding programs.  These were relatively simple in design to put together but in reality they took far too much time, especially trimming the pages next time I make programs I will make the covers from larger sized paper to avoid the excess trimming.   
They weren't perfect - and I wished I had actually made about 50 or so less of these we had 185 RSVPed guests and I made 148 programs well 100 would have been more than enough - and I was worried we would run out - I told our greeters to be stingy because we didn't have enough - HA!   Lessons learned either way I like how they turned out and that they matched other wedding items, and were relatively inexpensive with probably $10 in copier paper and $6 in washi tape, and another $4 in adhesive.    


picasa

4.20.2013

Let's Get Married - Cutout Wedding Couple

I love ridiculous photo ops - obviously so this was the perfect opportunity for something extra fun so Kathleen and I used a piece of plywood and some paint and we created cutout katie and dustin - wedding style.  It was super simple 
1. Primed the board. 
2. Put on a layer of background paint.
3. We did a sketch on the board. 
4. Painted in layers.
5. touched everything up. 
6. Stood it up. 

This project never really got finished the stand wasn't ever built but we took it to the reception anyway. 

It turned out cute anyhow.  But it was a big hit at the wedding too. I wish I had everyone's photos with their faces in it but I only have these few.   We plan to save the board and keep it in our guest room.  We also think it will be fun for a playroom later on.


picasa

4.11.2013

Let's Get Married - Bridesmaids Gifts

Since I have a bunch of crafty friends I thought I would be fun to recruit them to help with Bridesmaid gifts and they were all sorts of gungho to help out.   With the exception of Aunt Thea I pretty much let them make whatever they wanted (I requested Aunt Thea's Services), and everything tuned out super awesome.  I really hope the girls like them (I'm pre-dating this post so by the time you're reading this we'll know however we'll be on our honeymoon too).  THANK YOU SO MUCH TO EACH PERSON THAT MADE SOMETHING YOU ARE BEYOND FANTASTIC. 
Aunt Thea made the girls big makeup bags.  They have vinyl on the inside and just quilting cotton on the outside.   I sent her the fabric.  I think they turned out sooo cool and they are far better quality then I would do.  Thank you so much for making them.
She even made that pink one there for me.  It's by far my favorite although I love the little dishes one too. I like the surprise of the vinyl inside.

She also made the girls a brush/brow pencil holder unbeknown to me.  - Seriously how fun is that?  They are too cool.
 I actually made the girls these bookmarks because I was making pom poms anyhow.
 My friend Faith made them these adoreable notebooks from recycled materials.  Each one says the bridesmaids name.  I love that flamingo one.


 My friend Lindsay who sadly just moved to Nashville made them each their own earrings in pink and green.  I love the ones that look like candys.   She sent extra ones too for the flower girls and me!
I had a friend who was going to make them necklaces but at the last minute couldn't so I found an etsy shop and they each got their own name necklace.  They aren't for wearing to the wedding but they are super fun just the same.


My friend Jeanne crochets super awesome like so I recruited her mad skillz and she make them these great hobo crocheted grocery sacks.  They are very cool and seriously look at all that detail - that takes patience and time. 
picasa
